
We have recently involved in the AstroPlant Citizen Science Project. After building our first “Maker Edition (ME)“ we considered to do some changes to reduce costs of materials to build the kit. Below you will find details about main features of our “Maker LITE Edition (MLE)”, drawings to build this version of AstroPlant and other materials you can download for free… The AstroPlant is an open-source design under the CERN Open Hardware Licence. Check the official AstroPlant website.
New features in MLE are:
1.- New design, smaller size, low-cost
2.- A power supply unit housing made in plywood (lasercut)
3.- A DIY hydroponic kit using IKEA 365+ containers
4.- A front window to check nutrient solution level
5.- Side handles
6.- Download section
Unfortunately, we do not have building instructions for the moment. You can follow instructions of Maker Edition in the AstroPlant setup guide website considering changes described in this article. Feel free to email us if you have any question.
Main features in the “LITE Edition”
New design, smaller size, low-cost

Img.1, Maker LITE Ed. 
Img.2, ME vs MLE 
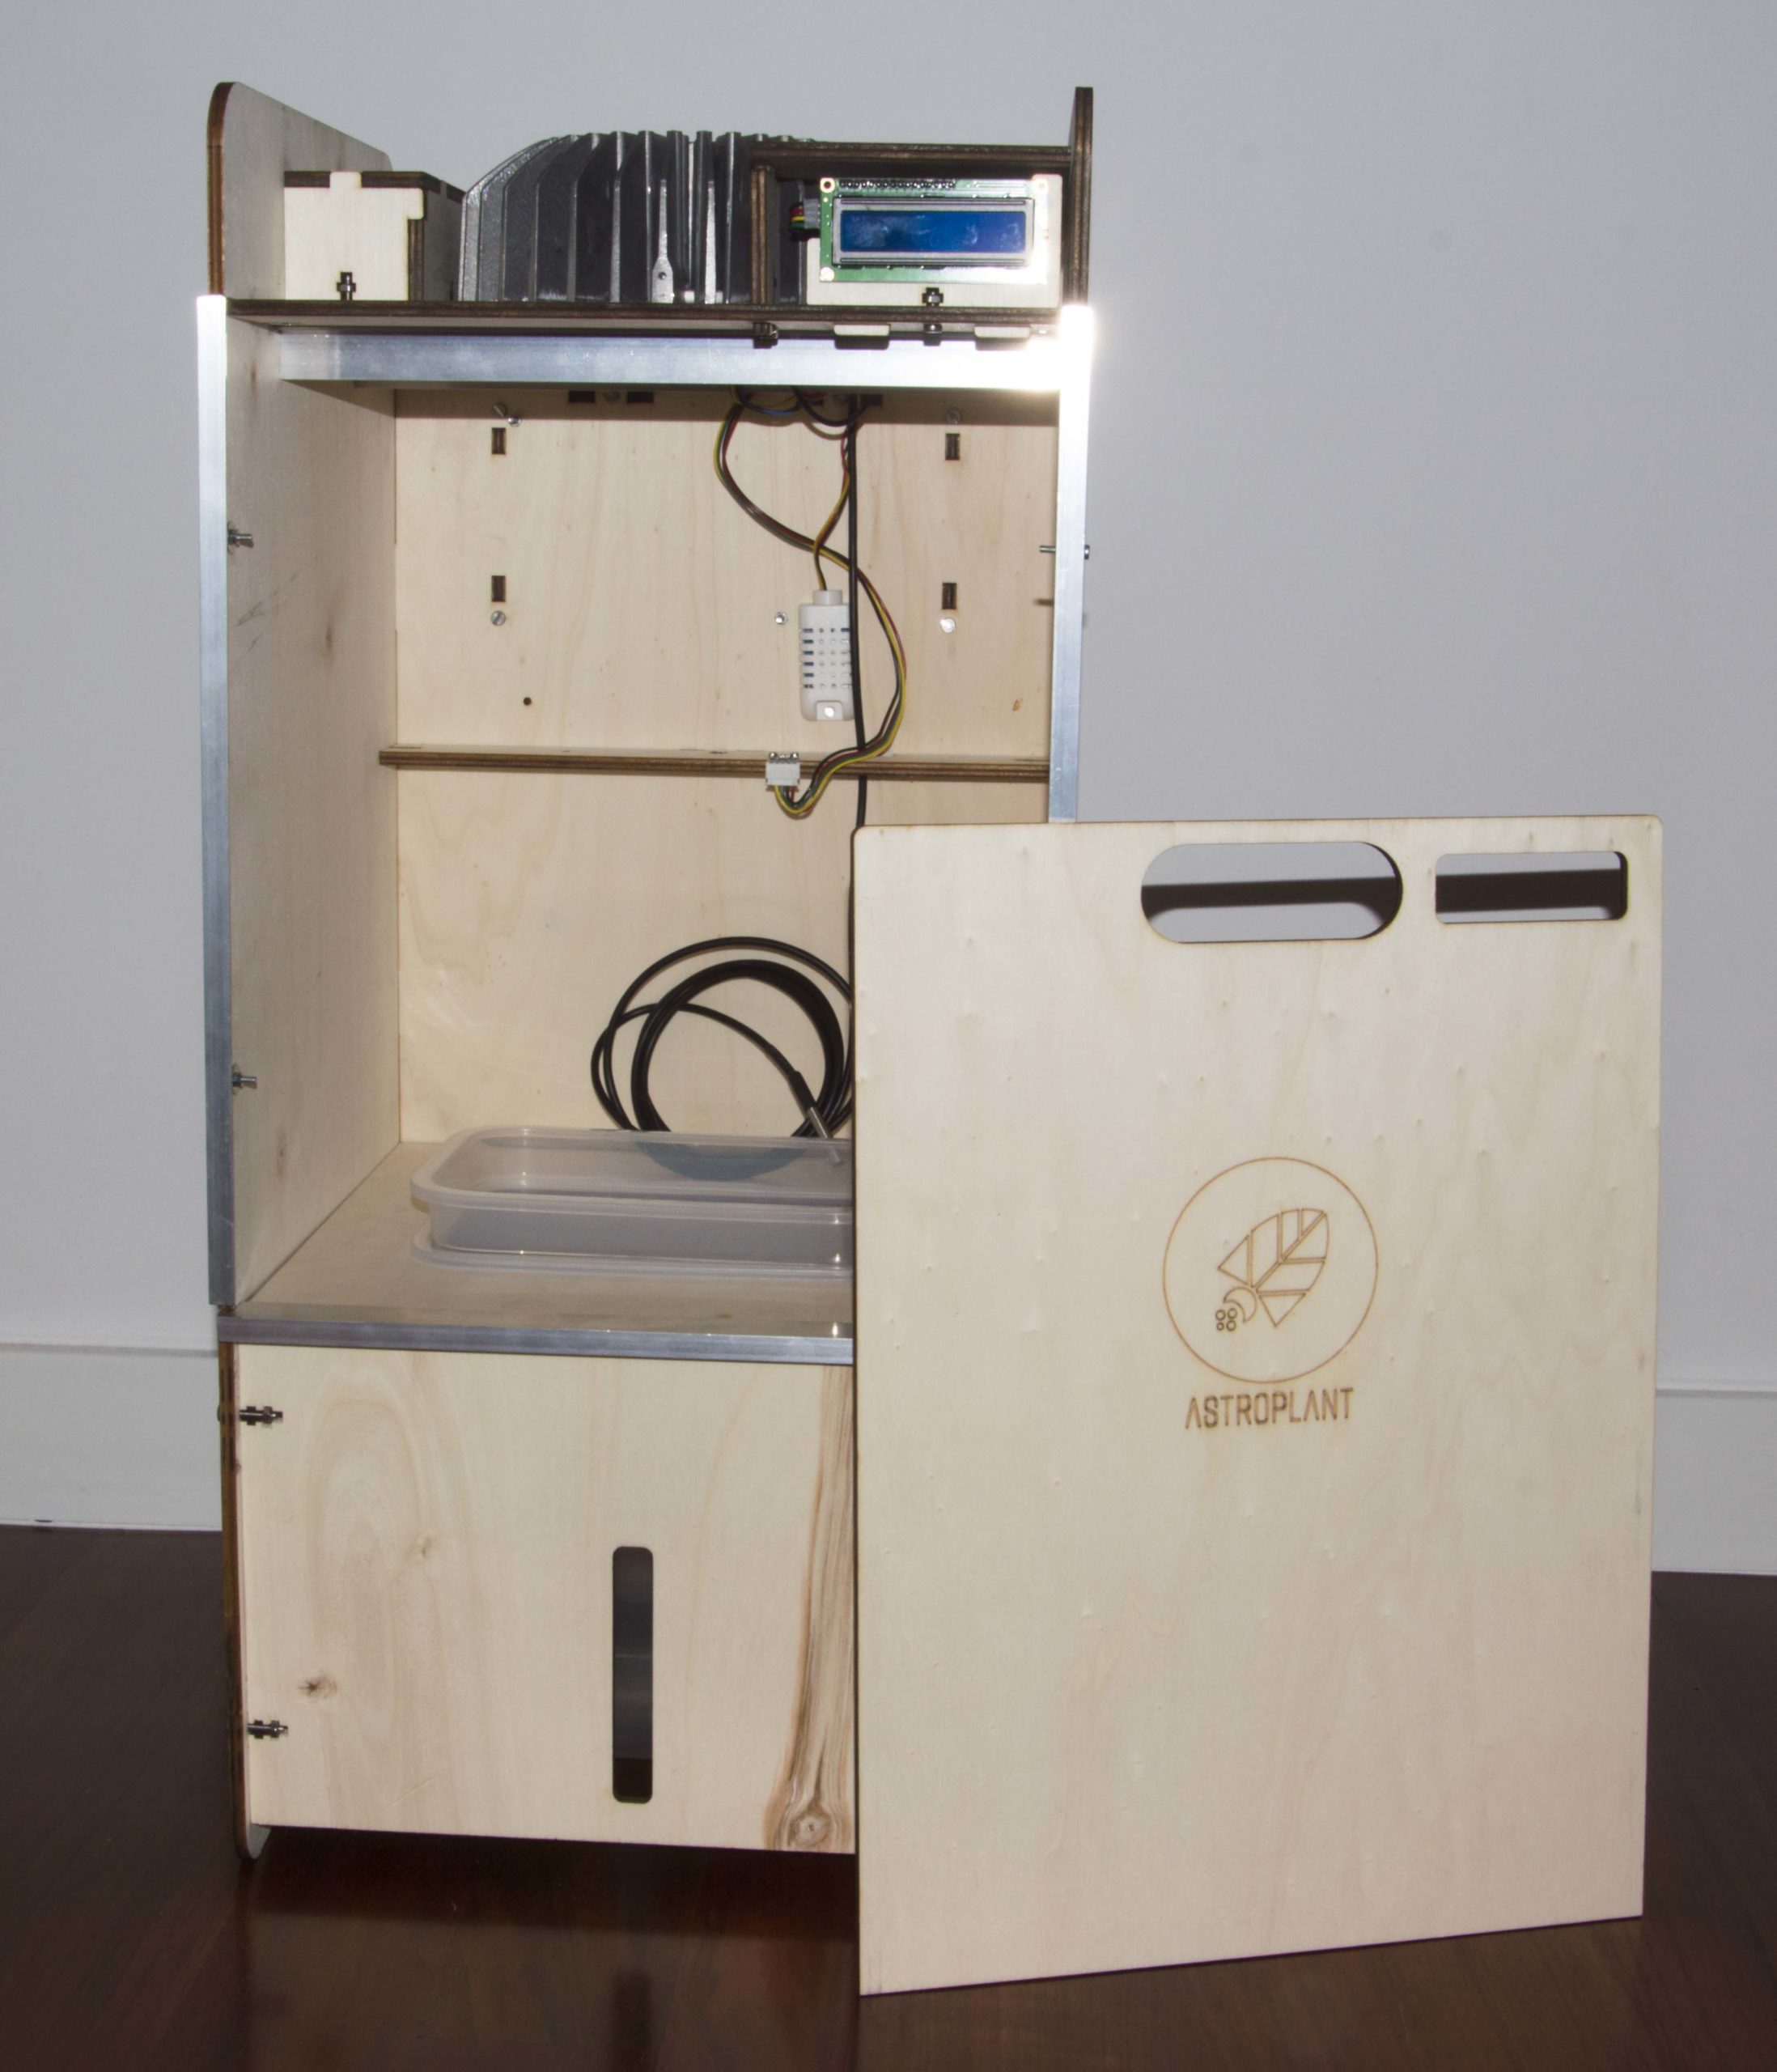
Img.3, Front view 
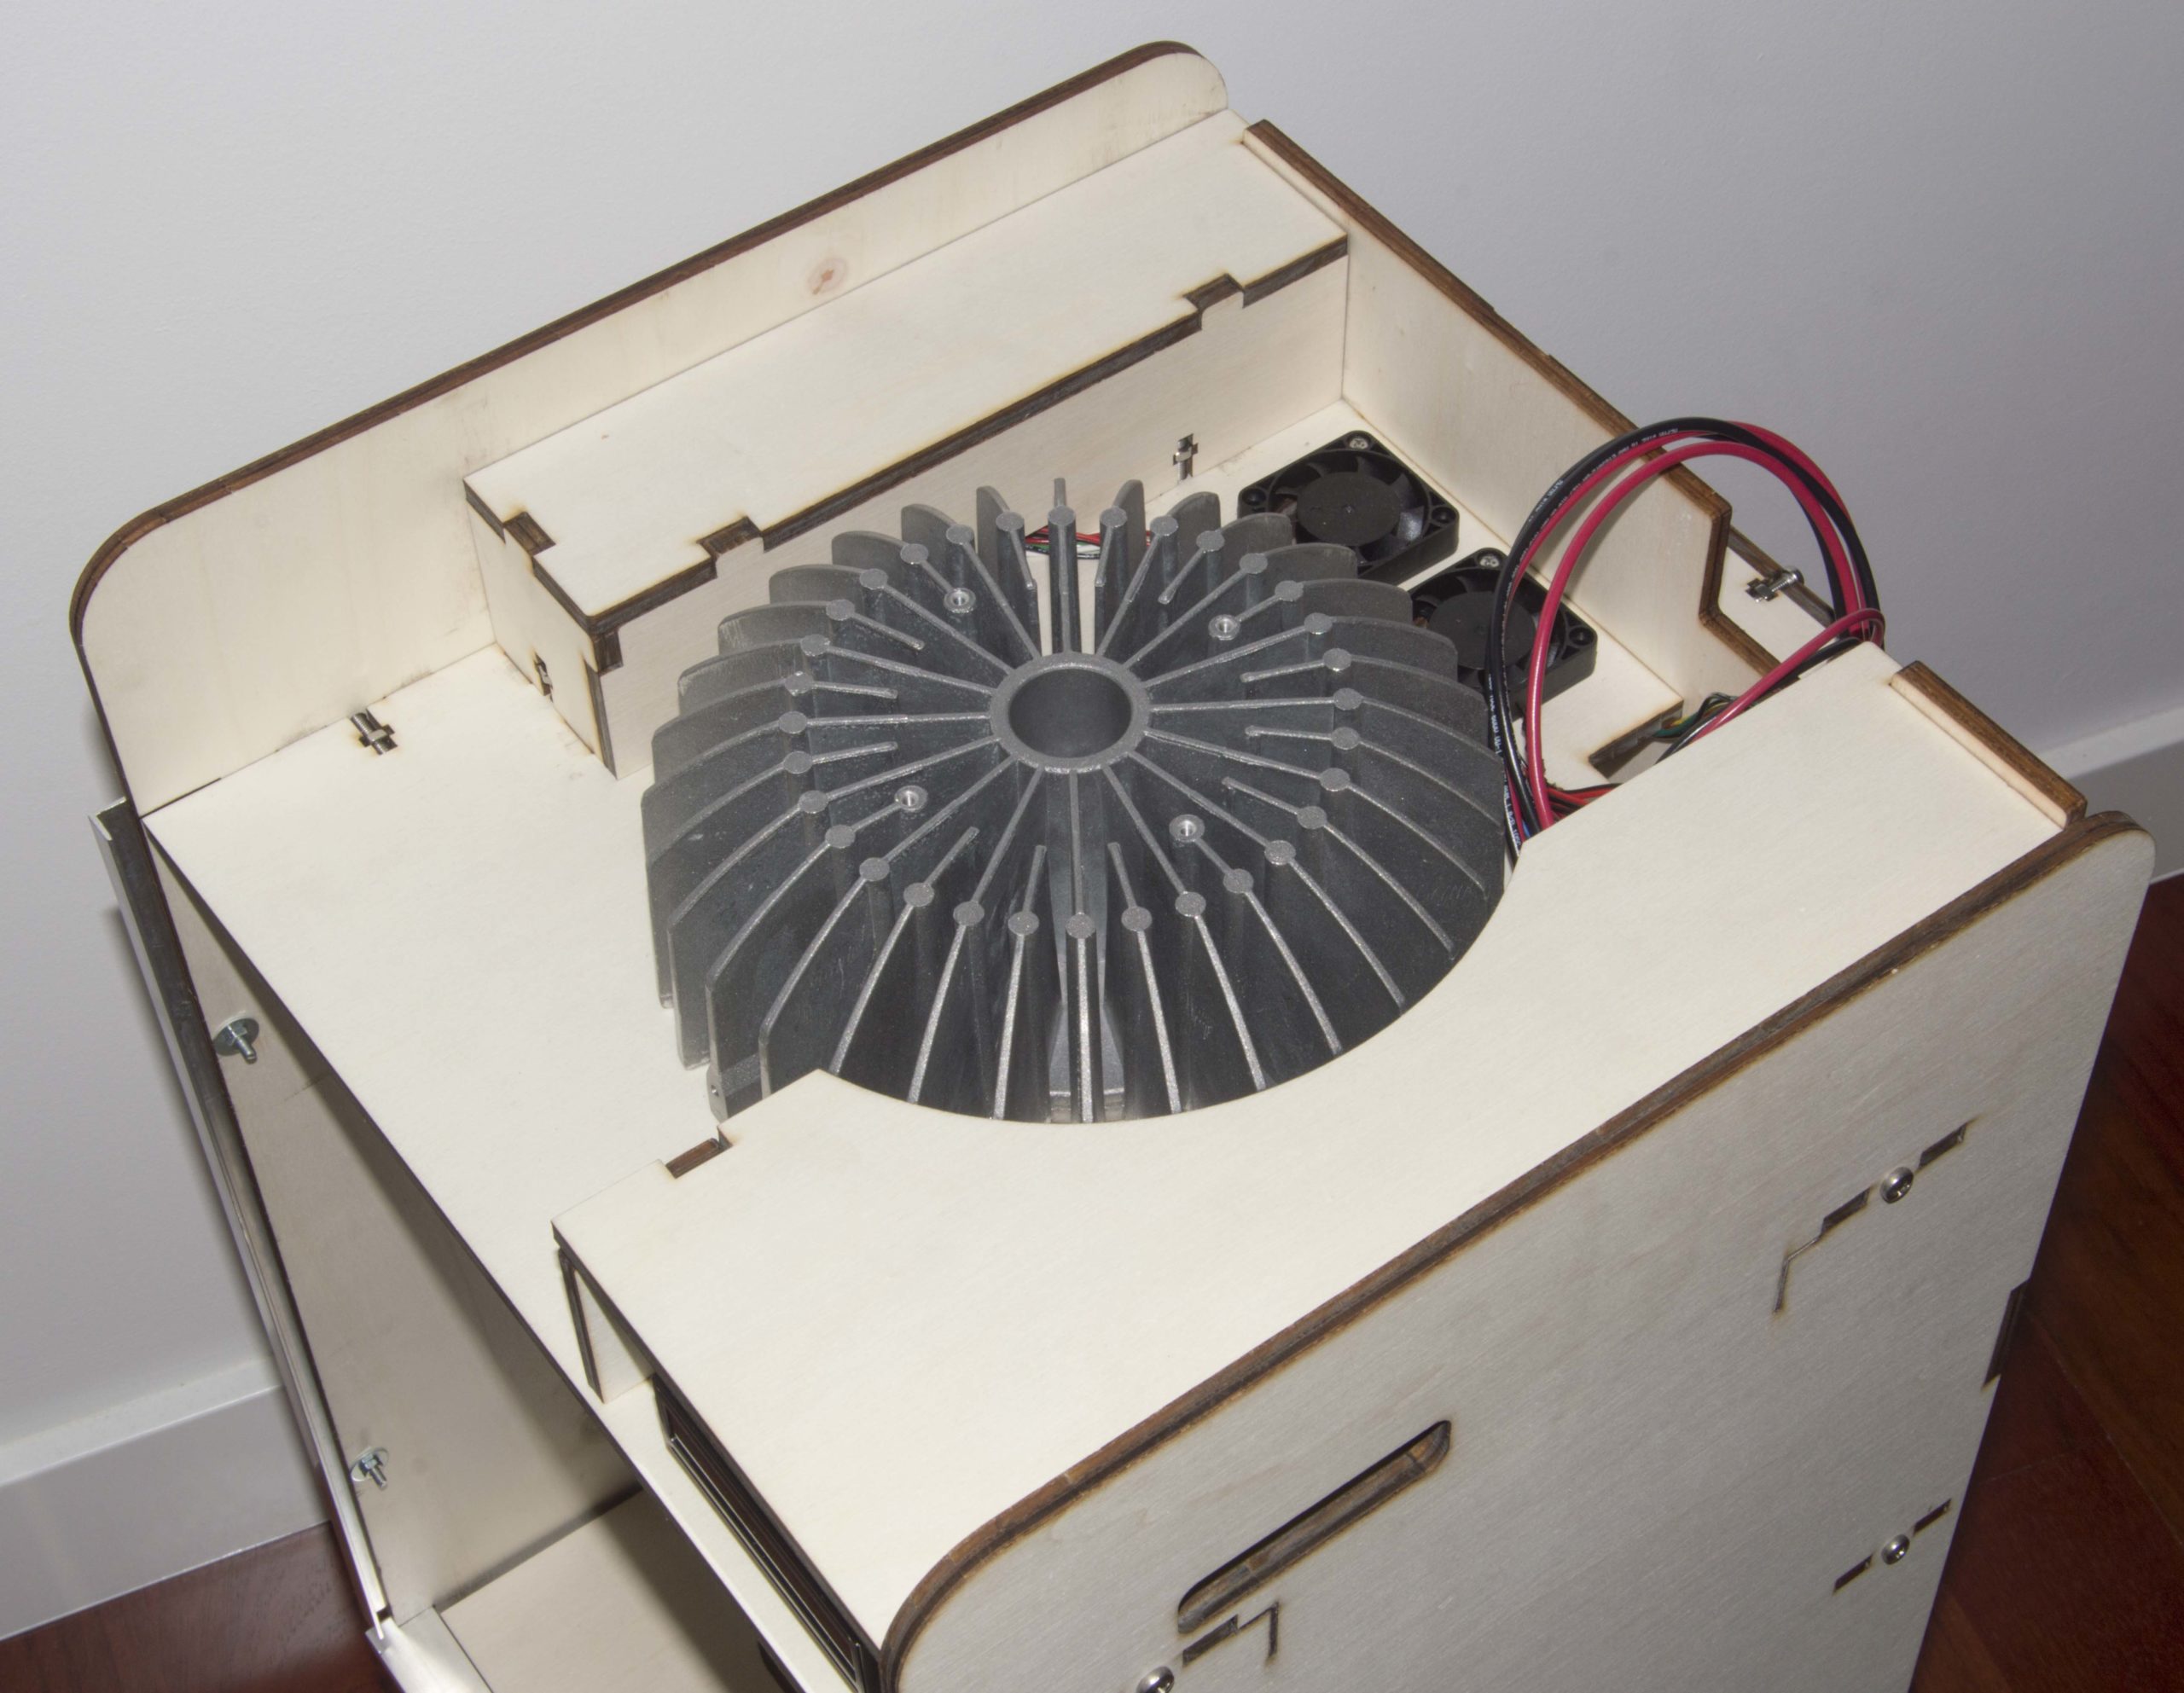
Img.4, Top view 
Img.5, Electronic

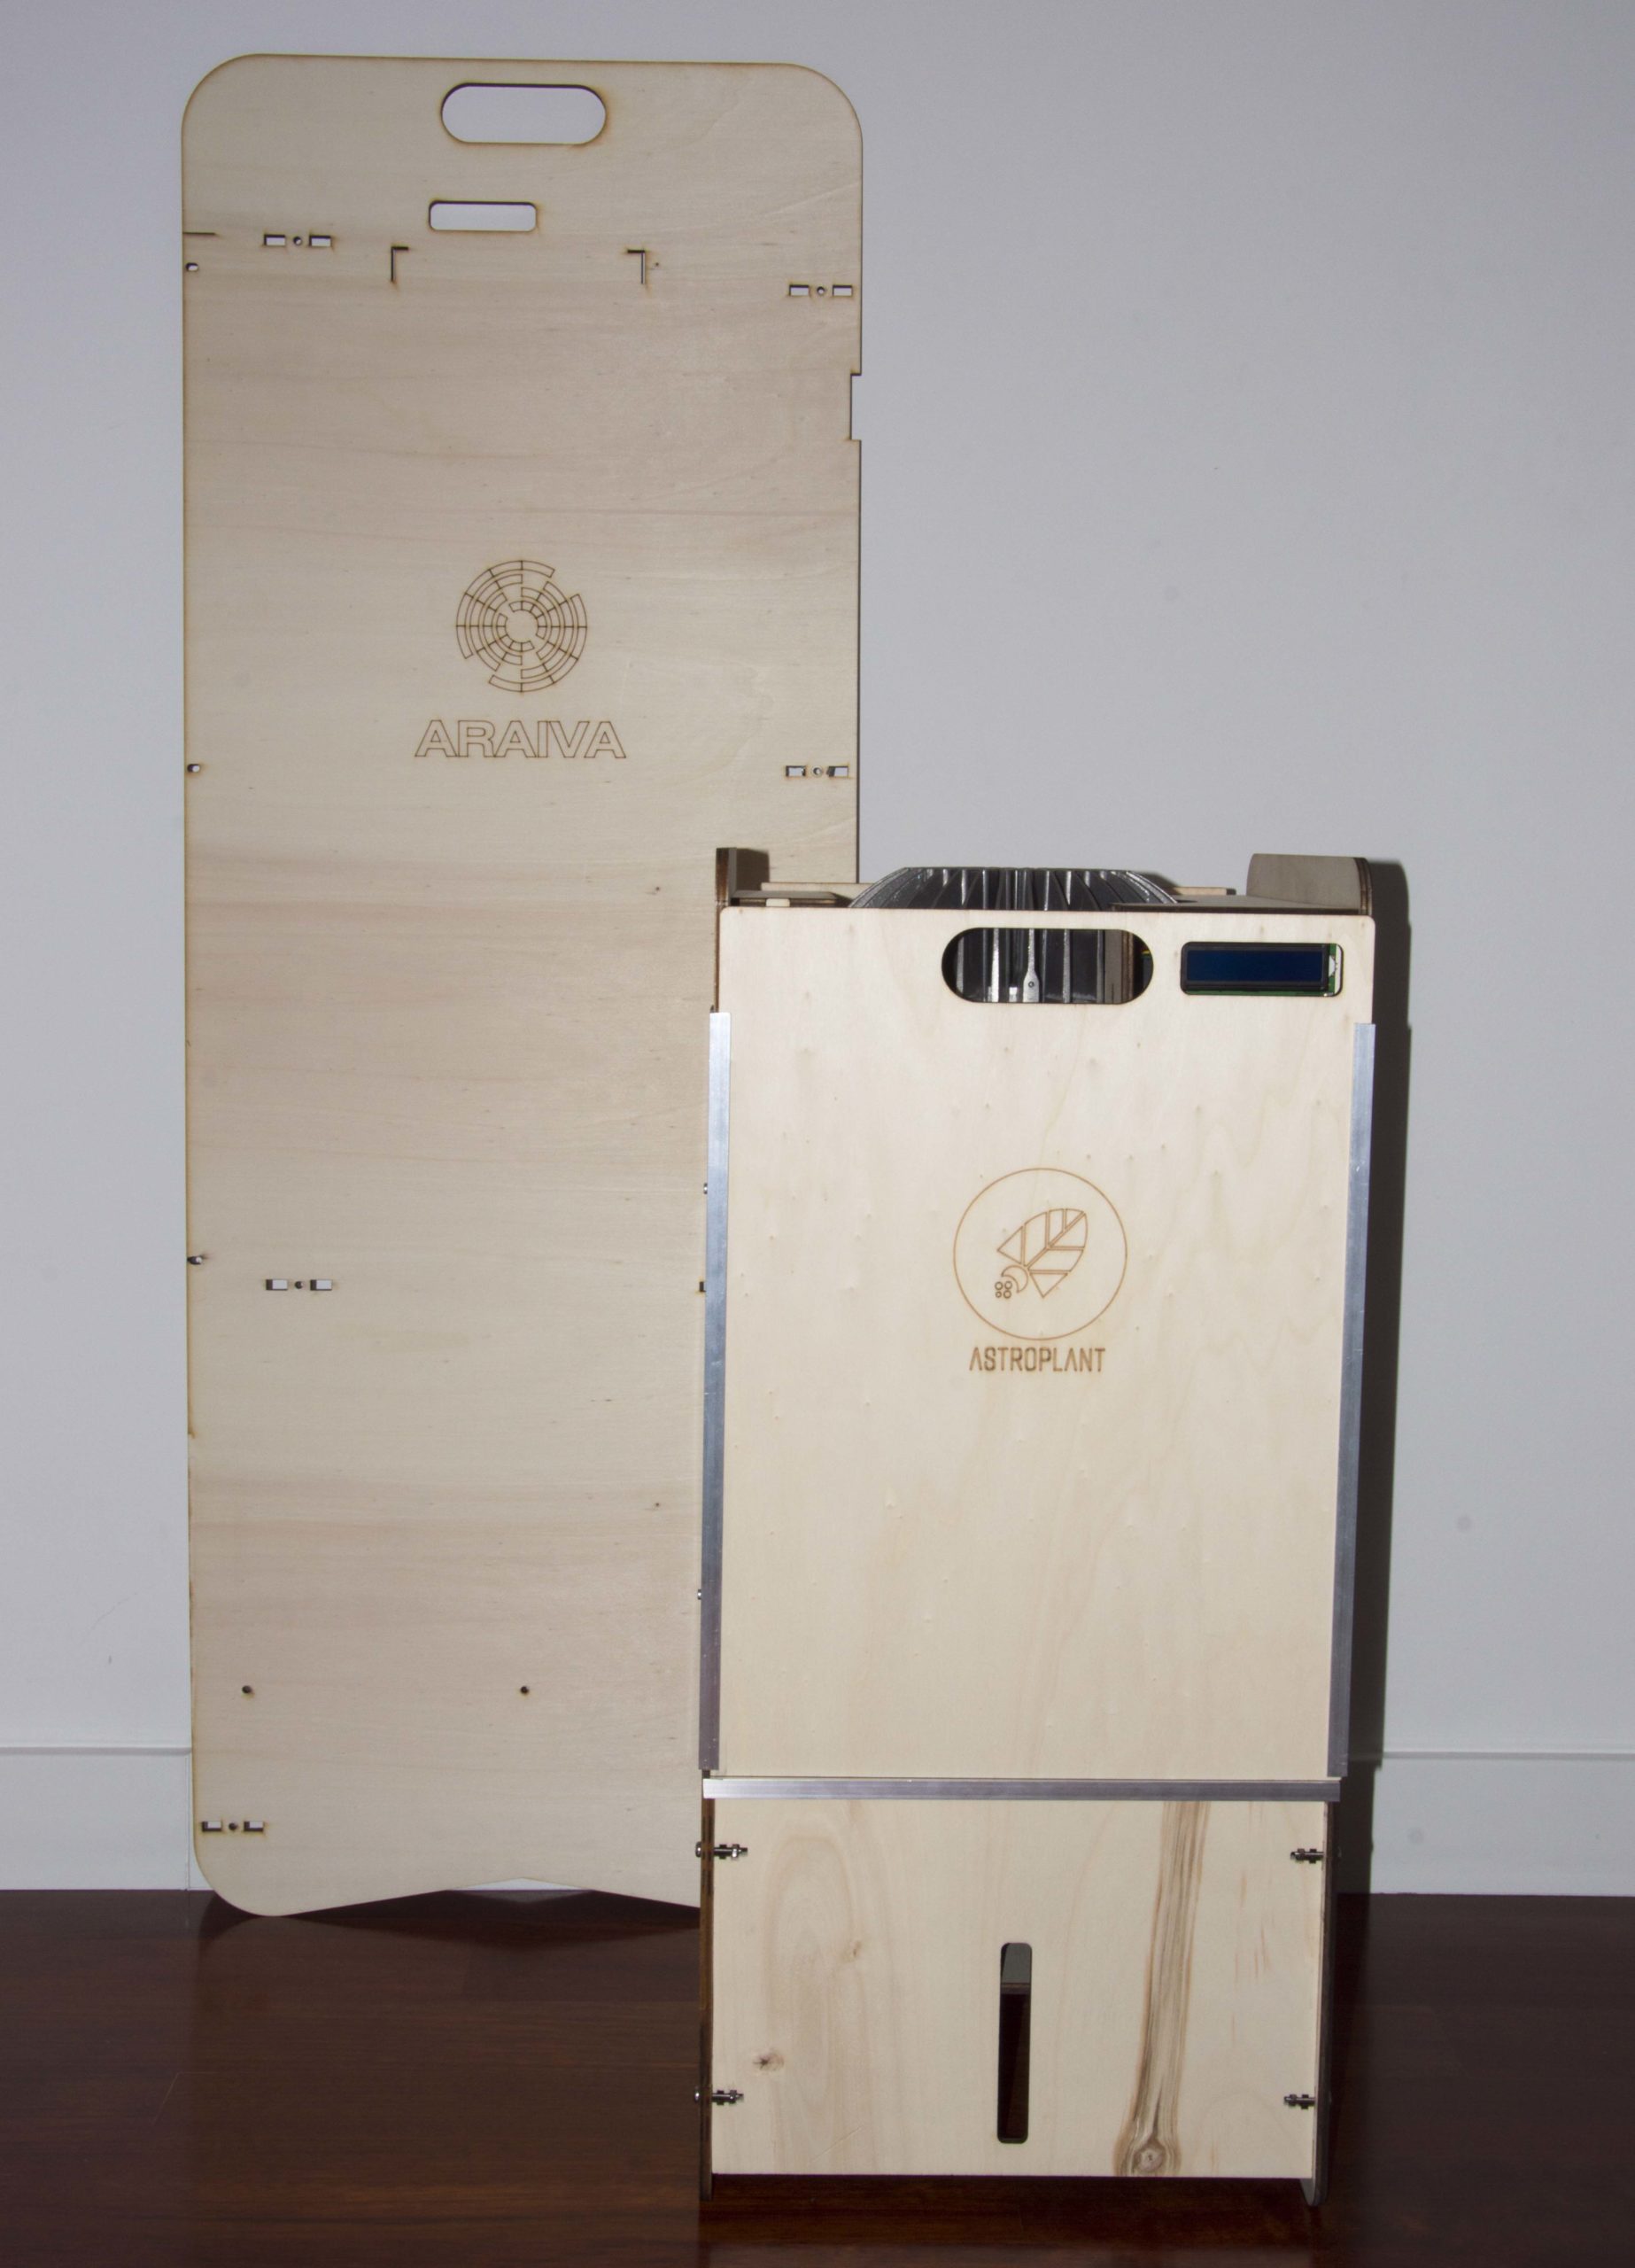

We have reduced the size of ME to save costs, make it lighter and easily portable. The new MLE is a 312×312 mm. size (instead of 422×422 mm. in ME) and 680 mm. of height (instead of 1157 mm. in ME). You can cut all laser pieces for about 60 € including a new power supply unit housing made in plywood too (see next section). We saved about 250 € (Spanish prices) with all changes in the AstroPlant described in this article. See picture 2 to compare size between the ME and MLE
The new height should give you enough space for basil to grow freely inside the chamber within 40 days of experimentation. See “Growth, yield, plant quality and nutrition of basil (Ocimum basilicum L.) under soilless agricultural systems” (Subhrajit Saha, Amber Monroe, Martin R. Day, 2016). This scientific research shows the basil grows about 300 mm. under a hydroponic system for 6 weeks (40 days). The new case gives you this 300 mm. and an extra of 40 mm. (total height 340 mm.).
New power supply unit housing

Fig.6, Power supply unit housing 
Fig.7, Power supply unit housing 
Fig.8, Power supply unit housing 
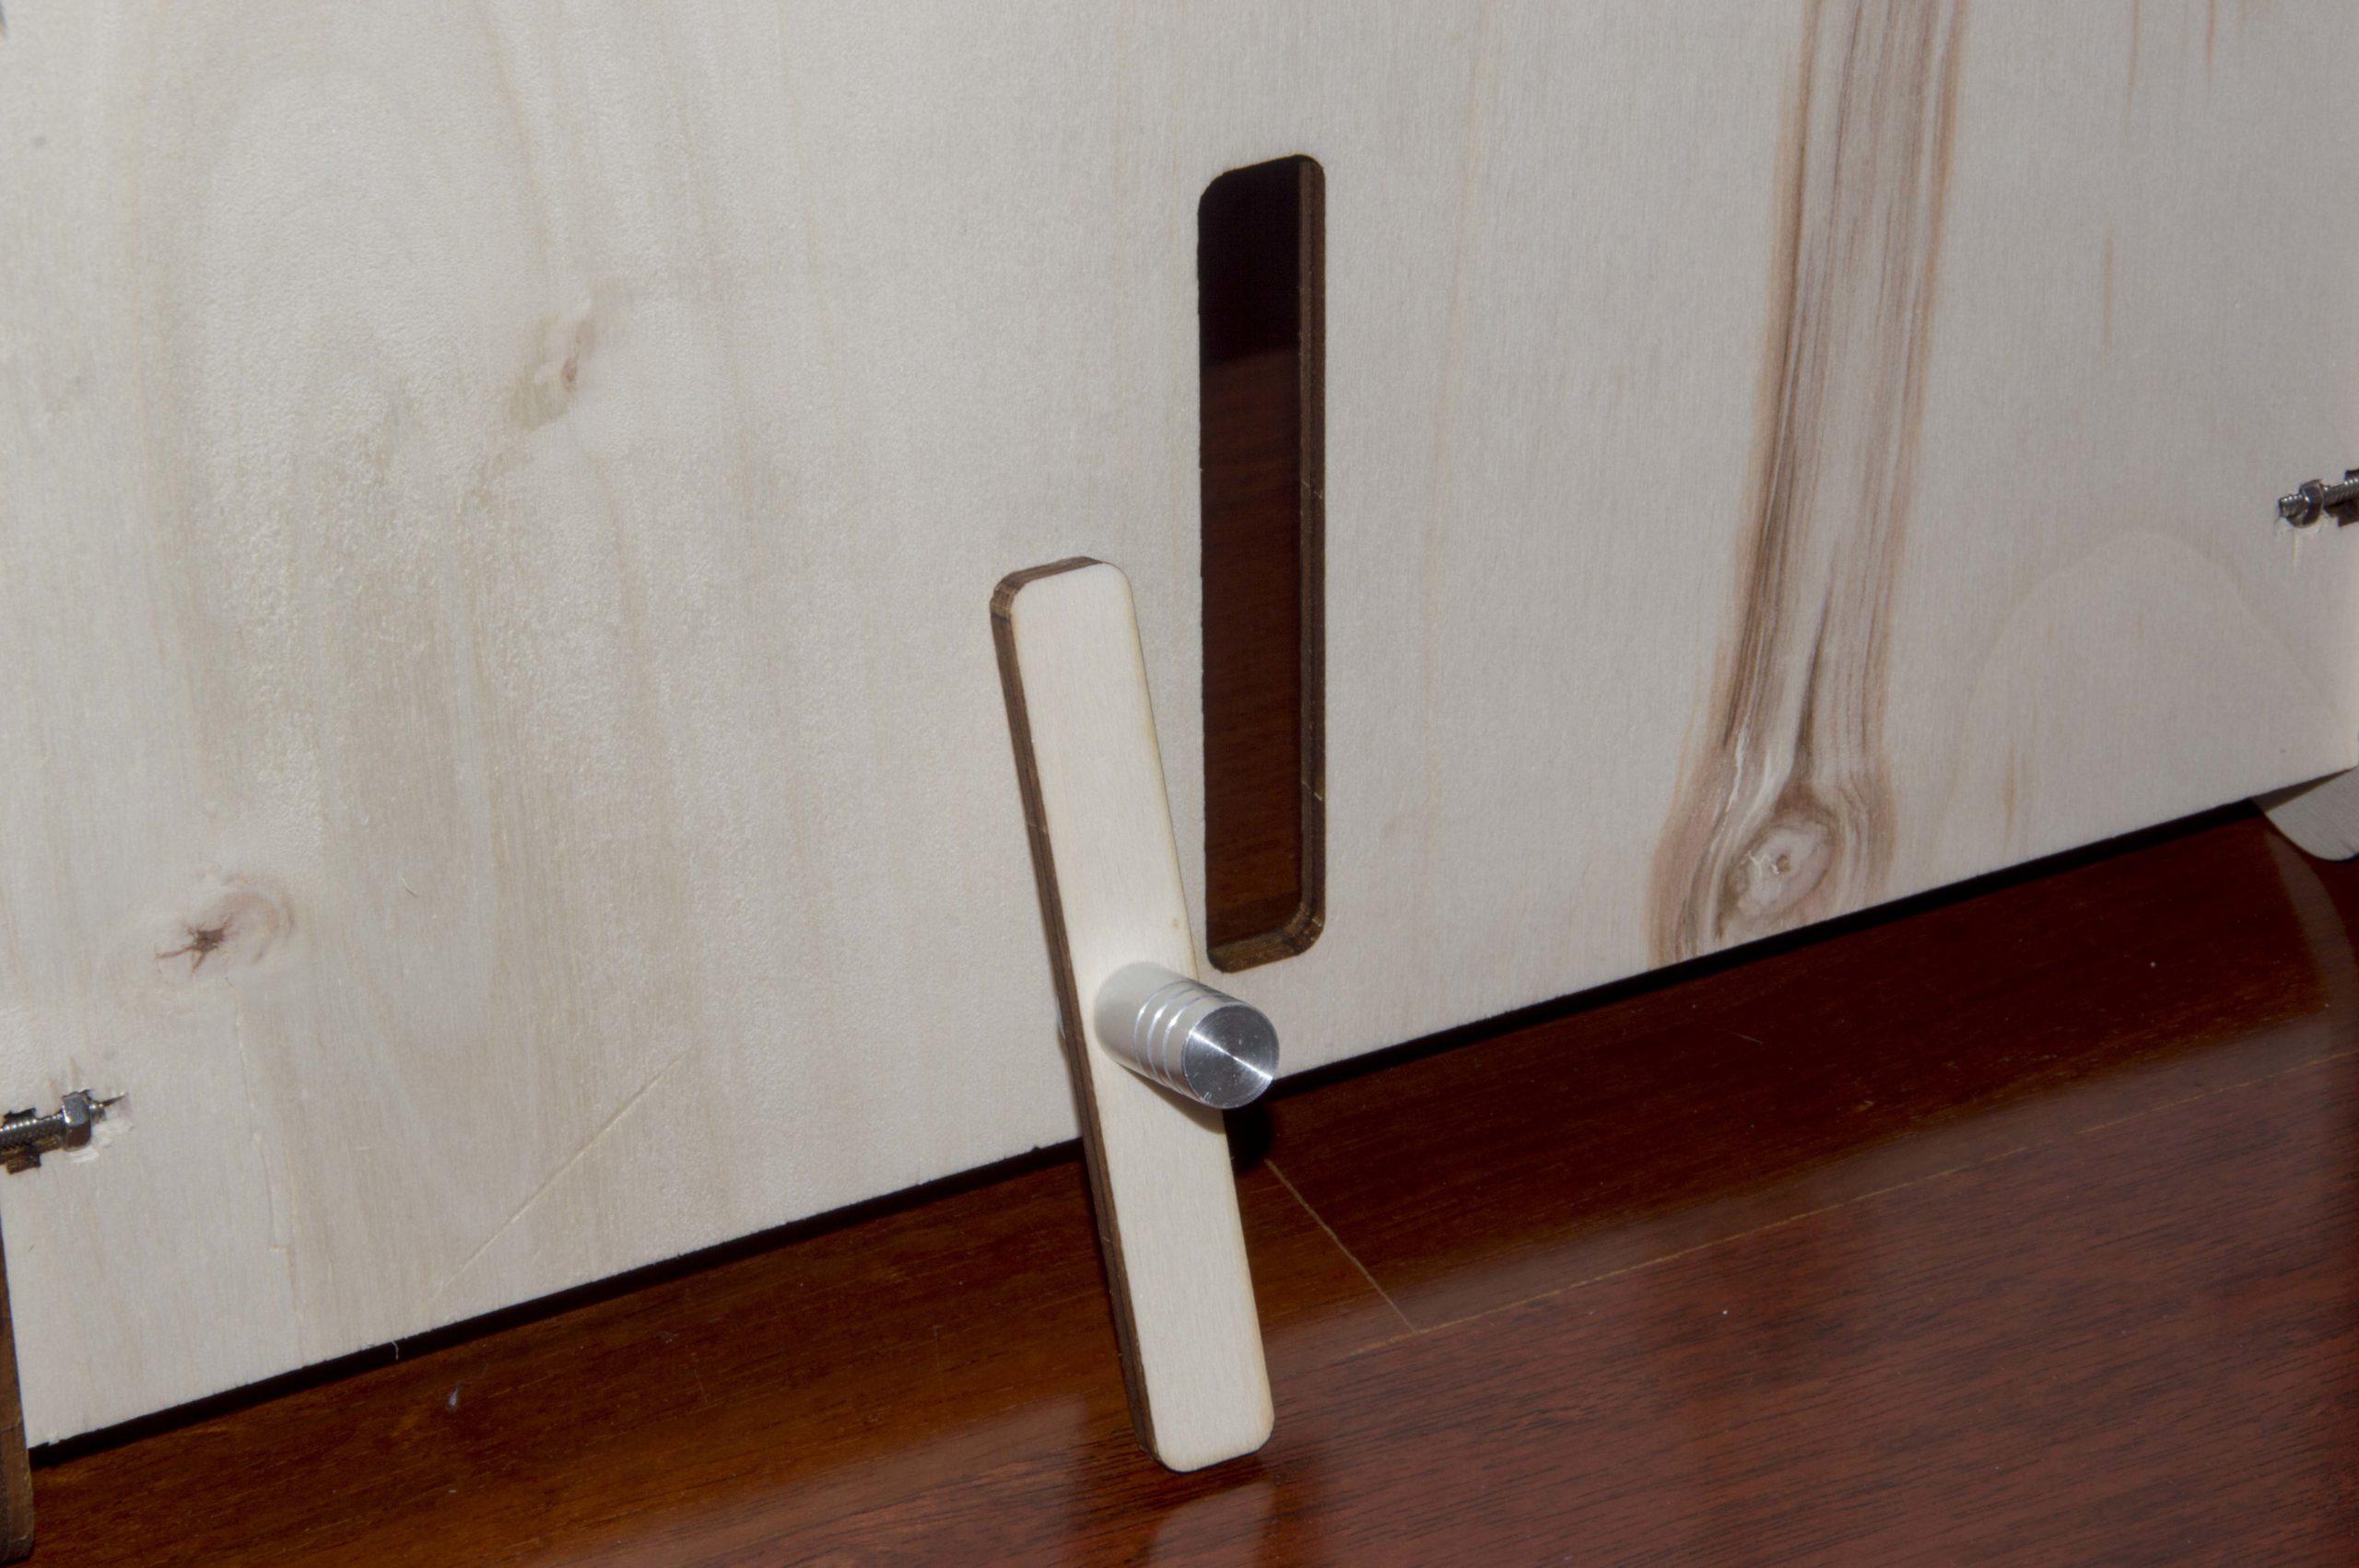
Fig.9, Nutrition level check 
Fig.10, Nutrition level check


MLE includes a new power supply unit housing made in plywood to avoid the extra-cost of printing 3D plastic pieces. Of course, you can keep the original design if you have special interest to work with digital 3D-printig processes or if you have a printer that fit your needs. If you prefer to save money you should choose the plywood design (you could save about 75 € or 100 € in 3D-printing if you don’t have a printer and have to buy these pieces). The power supply unit is screwed on the backside of the case. See pictures 6, 7 and 8.
A DIY hydroponic kit
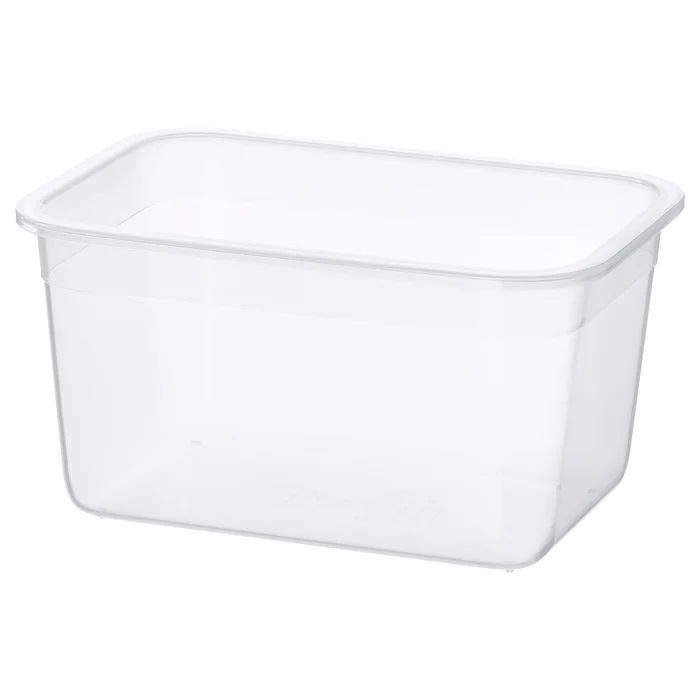
We have built a new hydroponic kit using IKEA 365+ containers and some plastic pieces you can acquire in aquarium shops or AliExpress for a couple of euros.

Img.11, Solution container 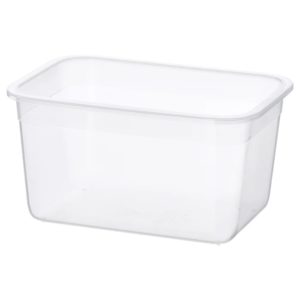
Img.12, Plant container 
Img.13, Alternative plant container 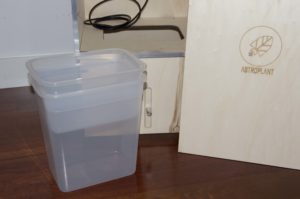
Img.14, Typical config. 
Img.15, Alternative config.


For IKEA 365+ containers follow links:
| Container | Ikea Ref. | Link | Cost |
|---|---|---|---|
| Solution container | 603.930.66 | https://www.ikea.com/es/es/p/ikea-365-recipiente-rectangular-plastico-60393066/ | 3 € |
| Plant container | 603.591.52 | https://www.ikea.com/es/es/p/ikea-365-recipiente-rectangular-plastico-60359152/ | 2 € |
| Alternative plant container | 403.591.48 | https://www.ikea.com/es/es/p/ikea-365-recipiente-rectangular-plastico-40359148/ | 1,5 € |
Because these are translucent containers, we have added a fixed front piece in the AstroPlant case below the sliding door to avoid the light and growth of algae.
Possible configurations:
Configuration #1 (typical and maybe the best choice):
Using the plant container inside the solution container you will have about 2,5 L of capacity for nutrient solution. Picture 14.
Configuration #2 (alternative to have an extra height inside the grow chamber):
Using the plant container as solution container and the alternative plant container you could have some extra height inside the grow chamber in case of wishing to deal with plants exceeding maximum height of 340 mm. To do this you must place the containers with the base plate in the low position. You have now a second pair of L shapes attached to the case and a mobile hydroponic base plate. Picture 15.
Probably this configuration is not the best choice due to the small capacity for nutrient solution and plant roots. We urge you to demonstrate the viability of using this option 😊.
This option of a mobile hydroponic base plate forced us to think of another solution to support the sliding door (in ME the hydroponic base plate is in a fixed position supporting the sliding door). Now you have a new “L shape” supporting the door.
Visit our post to build your DIY hydroponic kit
A front window to check nutrient solution level
Pictures 9 and 10 shows the new and small front window to check level of nutrient solution over the fixed front piece.
Side handles
To limit the AstroPlant height we have removed the handholds located at top in the side panels and attached a new couple of IKEA handles.
| Item | Ikea Ref. | Link | Cost |
|---|---|---|---|
| Side handles | 703.236.00 | https://www.ikea.com/es/es/p/billsbro-tirador-col-acinox-70323600/ | 5 € |
Downloads
| Maker LITE EDition | FILE TYPE | LINK | COMMENTS |
|---|---|---|---|
| MLE lasercut file | DXF file compressed | Download | plywood/multiplex 6 mm. |
| MLE L20x10x1,5 file | DXF file compressed | Download | |
| MLE screws | XLSX Microsoft Excel file | Download |
Visit the AstroPlant GitHub repo to find full information about the project or visit de AstroPlant GitBook to get the Official AstroPlant documentation. You can find a copy of these instructions in the AstroPlant GitBook for community projects.
Instructions to build our DIY hydroponic kit for the AstroPlant Maker LITE ed. can be found here.
Please, feel free to contribute, improve our documents or email us with questions, we appreciate any feedback.
Credits
Miguel A. Riola
Master & Commander
miguel.riola@araiva.es
Marco Riola
10 years old young engineer
Technical solutions & drawings
Leo Riola
6 years old astrophotographer